Global point of care
Afinion™ 2 Installation and Training Guide
Learn all about your new Afinion Analyzer and installation by following the below steps.
Click on each step below to reveal the instructions and get started. When you have completed the training, test your knowledge and take the Afinion 2 Analyzer competency quiz. You will receive a certificate of competency on completion of the quiz.
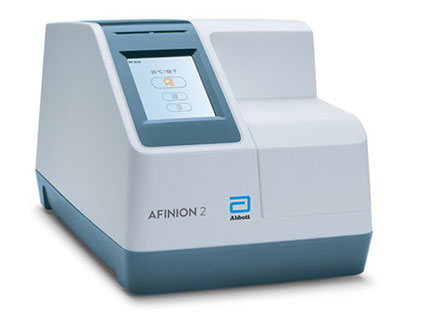
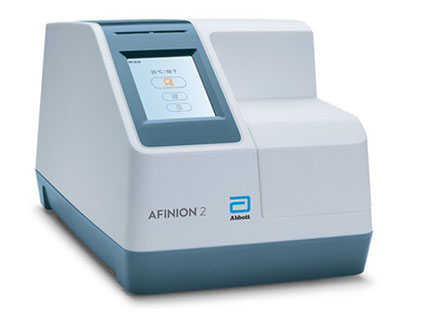

The Afinion Analyzer at a glance
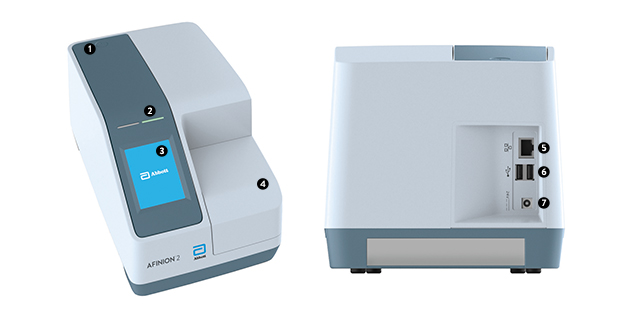
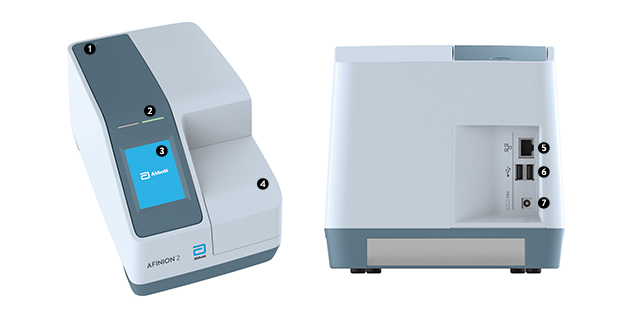

 ON/OFF button: Turns the power to the Analyser on and off.
 Red and Green LEDs: Light emitting diodes (LEDs) that indicates whether the Analyser is busy or not.
 Touch screen: Allows you to communicate with the Analyser through touch buttons and messages.
 The lid: Covers and protects the cartridge chamber.
 Ethernet port for connection to LIS/HIS/EMR systems. Use shielded cable.
 USB-A: Connectors for printer, USB flash and barcode reader.
 Power input for power supply connection.
How to operate the analyzer
The Afinion™ 2 Analyzer has two main user interfaces, the touch screen and the cartridge chamber. The analyzer is easily operated using the touch buttons that appear on the screen. When a button is touched, its function will be activated. Text messages that appear on the screen will help guide you through the testing procedure.
The other main operative part of the Afinion™ 2 Analyzer is the cartridge chamber. The cartridge chamber is designed to receive the test cartridge in one orientation only. The lid must be manually closed, but opens automatically. When a new test cartridge is placed in the chamber, manually closing the lid will initiate the analysis. When the analysis is complete the lid will open automatically. The lid protects the cartridge chamber from dust, dirt, light and humidity during processing and when the analyzer is not in use.
- The lid must be manually closed, but opens automatically. Do not open the lid manually.
- Use the fingertips only on the touch screen. Do not use pens or other sharp instruments.
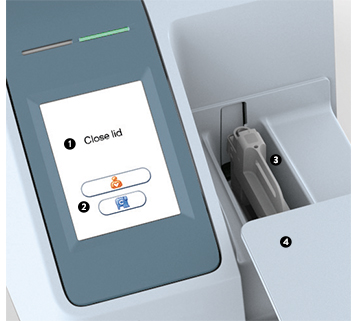
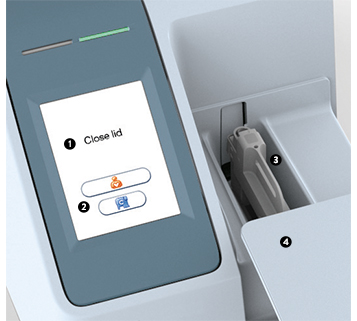

- Text message
- Touch buttons
- The cartridge chamber with a test cartridge
- The lid in open position
Screen saver
The screen saver will turn on after 3 minutes if the touch screen is not in use. To reactivate, touch the screen.
Light signals (the red and green LEDs)
The red diode is illuminated when the analyzer is busy. A flashing red light is seen when an information code is displayed. The green diode is illuminated when the analyzer is ready for use. A flashing green light indicates completion of an analysis.
Sound signals
A short beep indicates completion of an analysis. Two beeps mean that an information code or message is displayed.
Calibration
The Afinion™ 2 Analyzer has been manufactured to deliver reliable and accurate results. During manufacturing, the analyzers are calibrated against a reference system. This procedure has been established to ensure that all analyzers operate within identical tolerance limits.
Test specific calibration data are established for each lot of test cartridges and then stored in the barcode label. When the test cartridge enters the analyzer, the integrated camera reads the barcode. The calibration data for the actual lot are transferred to the instrument and used for calculating the results. Calibration by the operator is thus not required.
Cleaning and maintenance
No maintenance of the Afinion™ 2 Analyzer is required other than cleaning the exterior and cartridge chamber.
Cleaning the exterior of the Afinion™ 2 Analyzer should be performed whenever necessary.
The cartridge chamber should be cleaned immediately if materials or liquids are spilled in the cartridge chamber. For regular maintenance (removal of dust particles etc.), the cartridge chamber should be cleaned every 30 days.
Please refer to the user manual for complete instructions.
Step 1: Getting started
Place your Afinion™ 2 Analyzer on a dry, clean, stable and horizontal surface. Make sure that the analyzer is located with sufficient surrounding airspace, at least 10 cm on each side. Placement of Afinion™ 2 Analyzer should allow easy disconnection from the wall outlet at any time. Acclimate the analyzer to ambient operating temperature (15-32°C) before use.
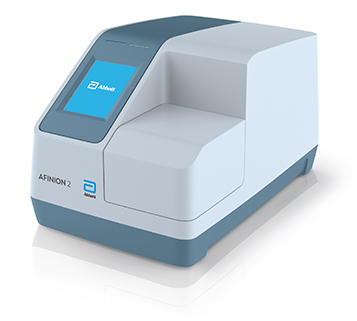
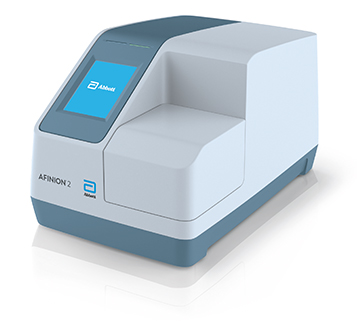

The analyzer might be impaired by:
- Condensing humidity and water
- Heat and large temperature variations
- Direct sunlight
- Vibrations (e.g. from centrifuges and dishwashers)
- Electromagnetic radiation
- Movement of the analyzer during processing of a test cartridge
Connecting power supply
- Connect the power cable to the power supply.
- Insert the plug from the power supply into the power socket in the back of the analyzer.
- Plug in the power supply to a wall outlet.
Only use the power supply and cable supplied with Afinion™ 2 Analyzer. Any other power supplies or cables can damage the analyzer and may cause possible hazards.
Connecting additional equipment
- Optional equipment, not provided with your Afinion™ 2 Analyzer are:
- External barcode reader – for reading barcoded sample or operator identification.
- Printer – for optional print out of test results.
- For additional information regarding barcode reader and printer specifications, please contact your local Afinion™ 2 supplier.



Connecting the equipment should be done while the analyzer is switched off.
All equipment connected to the USB and/or Ethernet ports must have double or reinforced insulation from mains to prevent the risk of electric shock.
Step 2: How to switch on Afinion™ 2

Switch on the Analyser by pressing the ON/OFF button. An automatic start-up procedure will be initiated. Please wait. Do not open the lid manually.
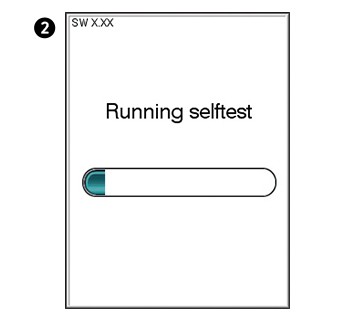

An automatic start-up procedure will be initiated shortly after the analyzer has been switched on. The red light on the top of the analyzer will turn on, indicating that the analyzer is busy. The analyzer is ready for use when the start-up menu is displayed and the green indicator light turns on.
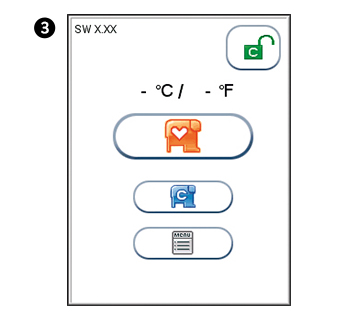
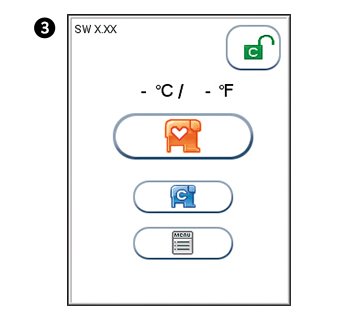

The analyzer’s software version (XX.XX) will appear in the upper left corner of the Start-up menu screen. The temperature displayed in the Start-up menu is the operating analyzer temperature. Make sure that the operating temperature is within the recommended range for your Afinion™ Test (see the package insert for the Afinion™ Test).
If the analyzer fails during the start-up procedure, an information code will appear. Please refer to the user manual for a list of all information codes and messages.
IMPORTANT
Please make sure the analyser is switched off at the end of your working day. Switch off the analyzer by pressing the ON/OFF button. The analyser can only be switched off if the cartridge chamber is empty and the door is closed
Step 3: How to configure your instrument
Before using your Afinion™ 2 Analyzer you should set the configuration according to your needs. To enter the Configuration menu, do the following:
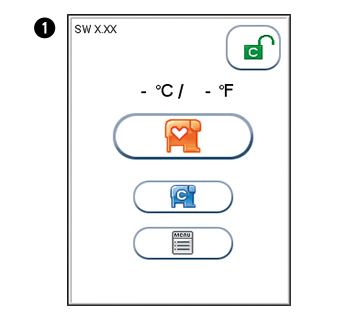
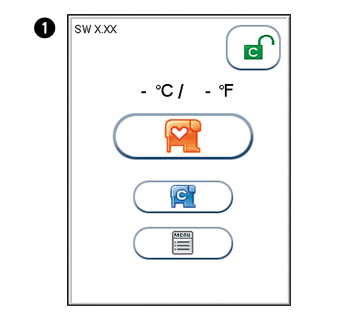

Start-up menu
Touch  to enter Main Menu
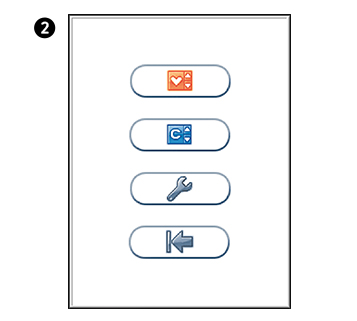
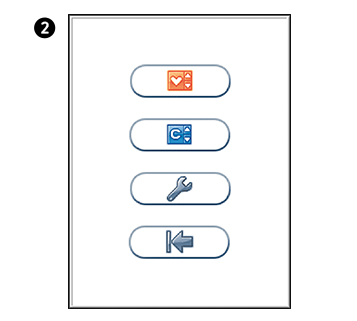

Main menu
Touch  to enter Main Menu
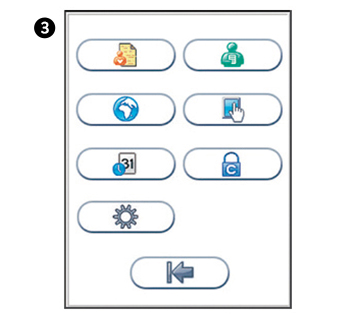
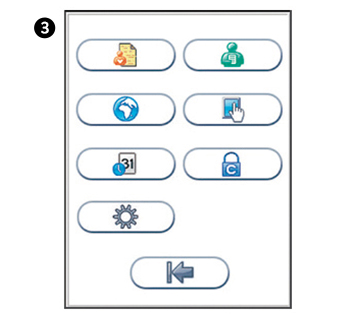

Configuration menu
Select an item for configuration.
Patient ID configuration
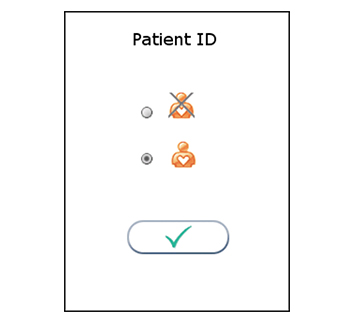
The patient identification (ID) function can be enabled or disabled. The patient ID function is enabled as a default setting by the manufacturer. When the patient ID function is enabled, the patient ID must be entered for each test cartridge to be analysed. If the patient ID function is disabled, a run number will automatically replace the patient ID and be displayed in the upper left corner of the screen. This numbering is reset each day at midnight.
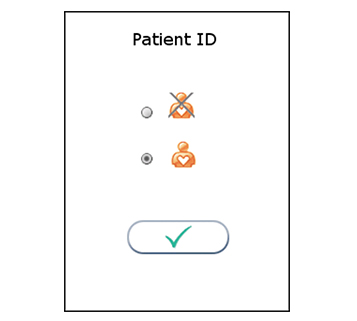
Patient ID enable/disable

Operator configuration
Touch  in the configuration menu to enter the patient ID on/off option.
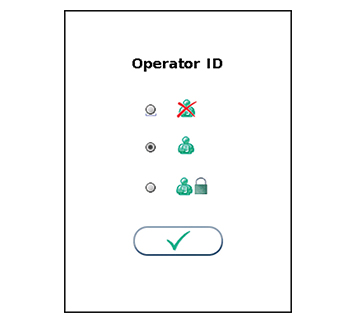
Select to disable the operator ID function.
Select to enable the patient ID function.
Touch  to accept and return to the configuration menu.
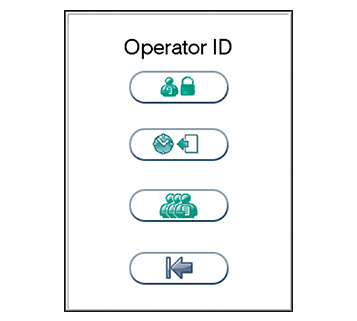

Operator ID enable/disable
Touch  in the configuration menu to enter the operator configuration menu.

Choosing regional settings
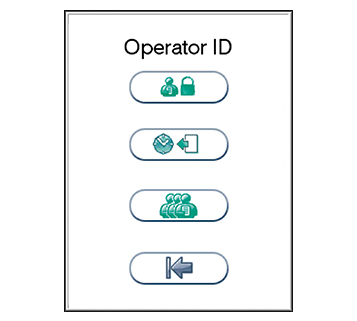
Touch  in the configuration menu to enter the operator configuration menu.
Select to disable the operator ID function.
Select to enable operator ID. Any operator ID is accepted.
Select to enable operator ID with verification.
Touch  to accept and return to the configuration menu.
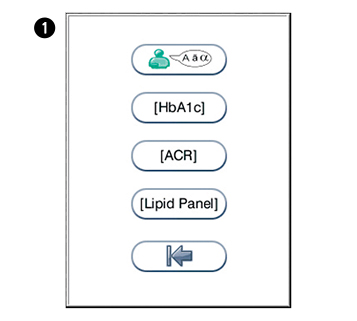

Touch  in the configuration menu to enter the regional settings menu.
Touch  to enter the language selection. Touch the arrow in the window to view other options. N.B English is the default language.
Touch to enter HbA1c units. Touch the arrow in the window to view other options. Options: mmol/moL (UK), %, eAG mmol/L (estimated glucose average).
Touch  to enter ACR units. Touch the arrow in the window to view other options. Options: mg/mmol (UK), mg/g.
Touch  to enter lipid panel configuration menu. Touch the arrow in the window to view other options. Options: mmol/L (UK), mg/dL.
- Select which analytes you wish to see displayed.
- C - Total Cholesterol (not optional – always selected), HDL, LDL, Triglycerides, Non HDL, TC/HDL ratio.
Touch  to accept and return to the configuration menu.
Setting the date and time
The correct date and time should always be set because the date and time for the analyses are stored and displayed in the patient and control records. The date format is YYYY:MM:DD, where YYYY is the year, MM is the month (01 to 12), and DD is the day (01 to 31). The time format is hh:mm, where hh is the hour from 00 to 23 and mm is minutes from 00 to 59.
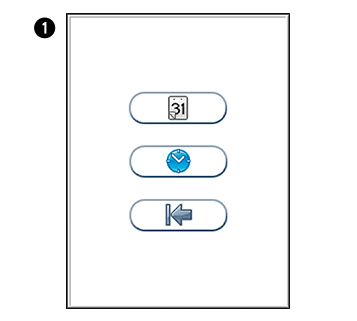
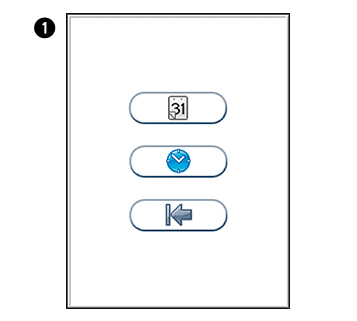

Touch  in the Configuration menu to enter Date/time menu.
Touch  to enter Date setting.
Touch  to enter Time setting.
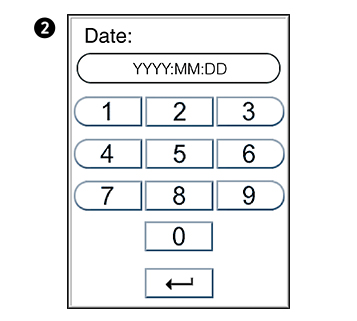
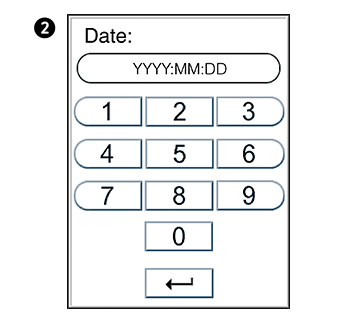

Enter today’s date or time.
Touch  to confirm and return to previous view.
Step 4: Preparing a test
Leave the unopened foil pouch on the bench for at least 15 minutes prior to analysis.
Allow the Afinion™ Test Cartridges to reach the recommended operating temperature before use.HbA1c – must reach a temperature of 18-30°C before use.
- HbA1c – must reach a temperature of 18-30°C before use.
- CRP – must reach a temperature of 15-30°C before use.
- Lipid Panel – must reach a temperature of 18-30°C before use.
- ACR – must reach a temperature of 20-30°C before use.
Consult the package insert that comes with each Afinion™ Test Kit for assay specific information.
Step 5: Preparing for analysis
Switch on your Afinion™ 2 Analyzer so it is ready for the day’s first analysis.
Enter the operator ID (optional).
The patient ID, control ID or Afinion™ Control Data can be entered before or during processing of the test cartridge in the analyzer.
Open the foil pouch. Grip the handle and remove the test cartridge from the pouch. Use the handle to avoid touching the optical reading area.
Discard the desiccant bag and foil pouch in suitable waste containers.
Mark the test cartridge with the patient or control ID. Use the ID area on the test cartridge. An ID label can also be used. Do not write on the barcode label or allow it to become wet, dirty or scratched. If an ID label is used, this must fit into the ID area.
Step 6: How to take a patient sample – Fingerstick procedure
A warm hand and good blood flow from the puncture site are essential to collect a good capillary sample.
- Always wear gloves.
- Select a puncture site from one of the middle fingers of either hand.
- If directed in the instructions for use: clean the finger with an alcohol swab.
- Dry thoroughly with gauze before pricking the finger.
- Use a lancet to prick the finger at the selected site.
- Squeeze the finger gently to obtain a drop of blood.
- If direted in the instructions for use: wipe away the first drop of blood.
Squeeze the finger for a second time until a large drop of blood forms, do not milk the finger. The puncture should provide a free flowing drop of blood. Excessive squeezing may lead to erroneous results.
Step 7: Testing procedure
- The patient sample material and control material to be used is specific for each Afinion™ Test.
- The length of the capillary in the sampling device, and thereby the sample volume, might also vary for the different Afinion™ Tests.
- The time from filling the capillary until analysing the test cartridge must be as short as possible.
Consult the package insert that comes with each Afinion™ Test Kit for assay specific information.
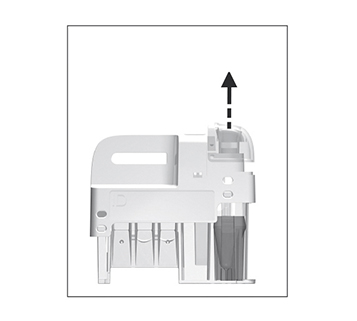
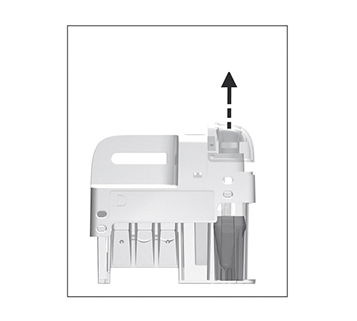

Remove the sampling device from the test cartridge.
Use the handle to keep the test cartridge steady against the table and pull the sampling device straight up.
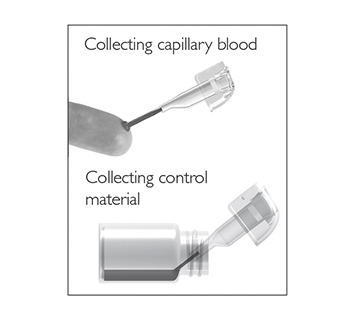
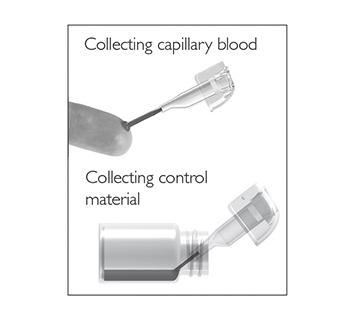

Fill the capillary; hold the sampling device almost horizontally and bring the tip of the capillary in surface contact with the sample. Make sure that the capillary fills completely. It is not possible to overfill.
Do not wipe off the capillary.
Avoid air bubbles and excess sample on the outside of the capillary.
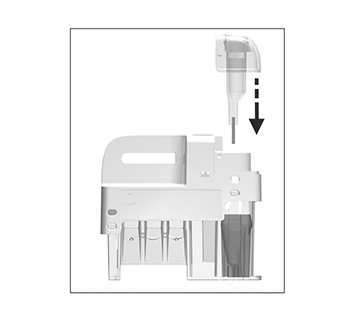
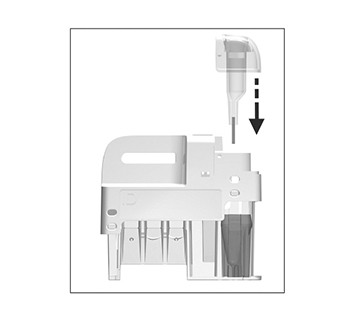

Immediately and carefully replace the sampling device into the test cartridge.
The time from filling the capillary until analysing the test cartridge must be as short as possible.
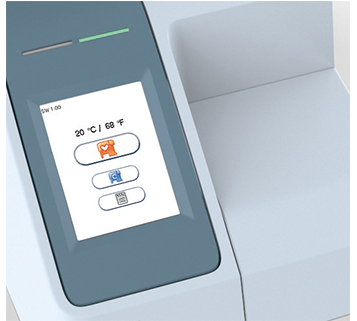
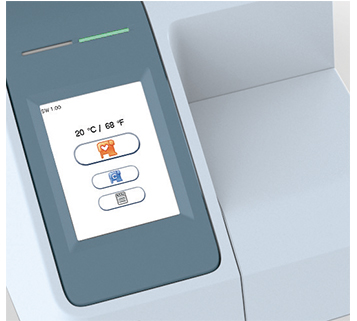

Touch  for patient samples, or touch
  for controls. The lid opens automatically.
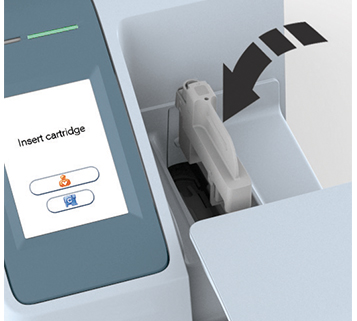
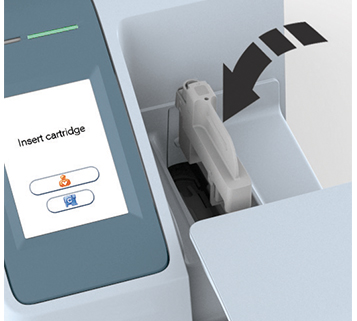

Insert the test cartridge with the barcode facing left.
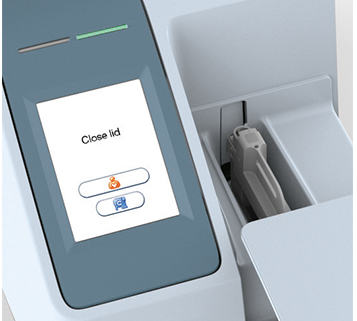
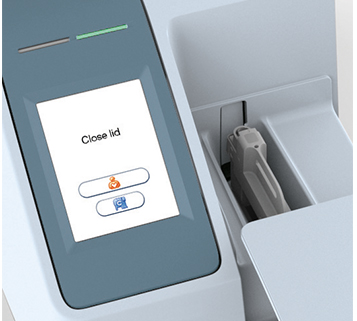

Close the lid manually to start analysing.
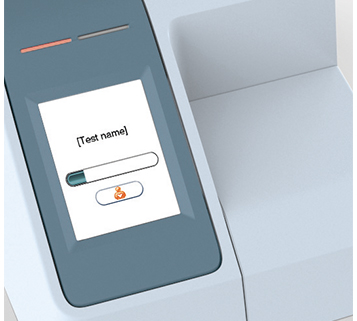
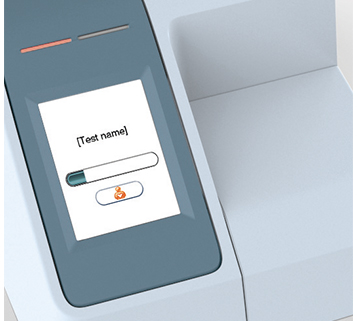

Touch  and enter patient ID, or touch
  and enter control ID.
Touch  to confirm.
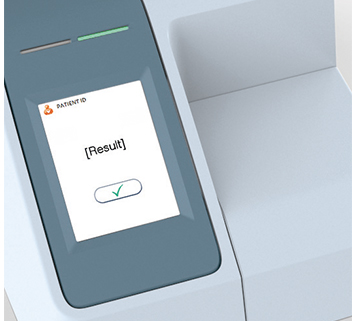
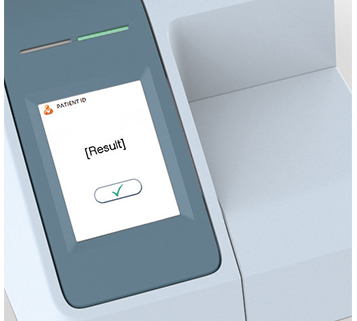

Record the result when it appears on the screen. Touch to accept. The lid opens automatically.
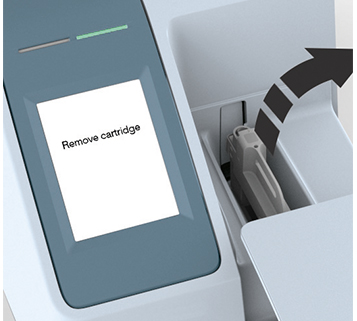

Remove and immediately discard the used test cartridge. Close the lid manually when the analyzer is not in use.
Test your knowledge
Take the Afinion 2 Analyzer competency quiz and you will receive a certificate of competency on completion of the quiz.


